
The TEMO·450 is an electric outboard motor for dinghies and small sailing boats. One of the reasons why our electric outboard motor is so straightforward and easy to install is the rowlock that comes with it. Here, we present a short tutorial to show you how to install a TEMO rowlock on a small RIB.
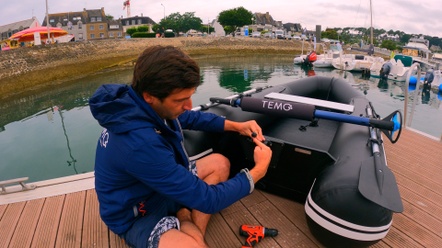
In the video associated with this article, we install the rowlock attachment to a 3D TENDER model that has a wooden transom. To do this, you need the screw kit that comes with our electric outboard motor, a screwdriver and of course the rowlock.
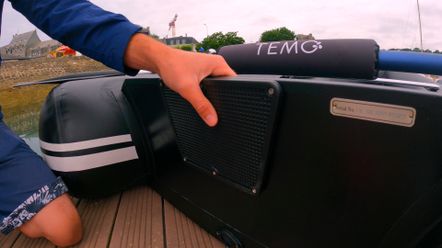
Make sure you check beforehand that you can drill into your transom. You must not drill a transom that has a watertight function. If this is the case, a wooden board or other support must be used. On the 3D TENDER transom there is no problem, as it is a wooden transom with a plastic outboard pad.
In the pack of screws supplied, you’ll find both self-drilling screws and through-bolts. If you have a wooden transom, the self-drilling screws will do the trick. Next, the positioning of the rowlock attachment on the dinghy is very important. Do not position it on the top of the dinghy (where possible) because you will put the TEMO electric outboard at an unnecessary angle. Position yourself above the transom and ensure your electric outboard can be raised horizontaly to get the propeller clear of the water when you go up on the beach.
Then, we recommend you do a few tests before you attach it. Find the ideal position where you are most comfortable handling the motor. You don't have to fix it in the centre of the transom – an offset position may make it more comfortable to use. There is now even a removable version of the rowlock available as an accessory!
The rowlock allows the TEMO·450 to be raised horizontally and lowered into the water as required. Its pivot point gives the electric motor a wide range of movement from right to left. Finally, the knob allows the motor to be secured once it is installed. That's it, you're ready to go!